Posted by Armin on Monday, January 27, 2014
My kids recently got a Duplo trainset (I think Set # 2933-1; second-hand), which they loved so much that the button that starts / stops the train got stuck within 20 minutes of playing. It looked like an easy fix, but the first (and hardest) hurdle was to actually open up the Duplo train. Luckily, this information is available online at Pim's blog (http://pimvanderzwet.wordpress.com/2011/03/21/how-to-take-apart-a-duplo-train/ ).
It turns out that the plastic button's restoring force is the tiny button of a microswitch on the train's circuit board. It seemed like it would fail again in no time, so I decided to exchange it with a big red button switch I had in my switch collection . Below are my notes on how I did this. Click on the images for a larger version (you can use the arrow keys to go from one image to the next).
1) Open the train according to the directions on Pim's blog
2) Take out the wheels. Make note of how the gear box is arranged so you can put it together again later.
3) Take out the batteries and battery clips and set them aside
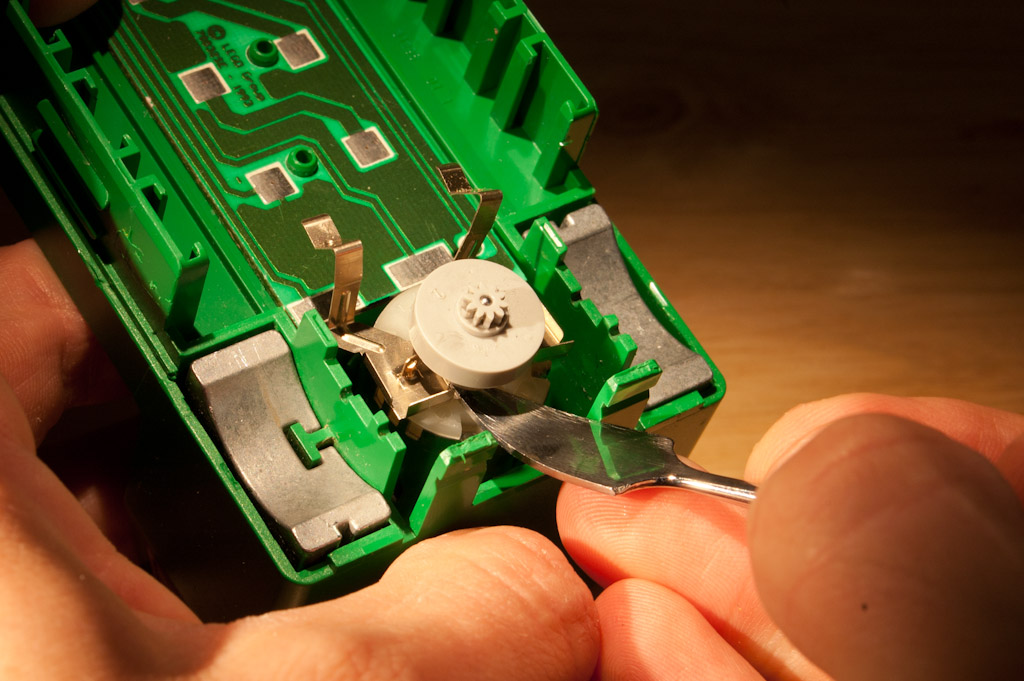
4) Slide out the motor by applying a gentle upward force with a spudger or similar tool
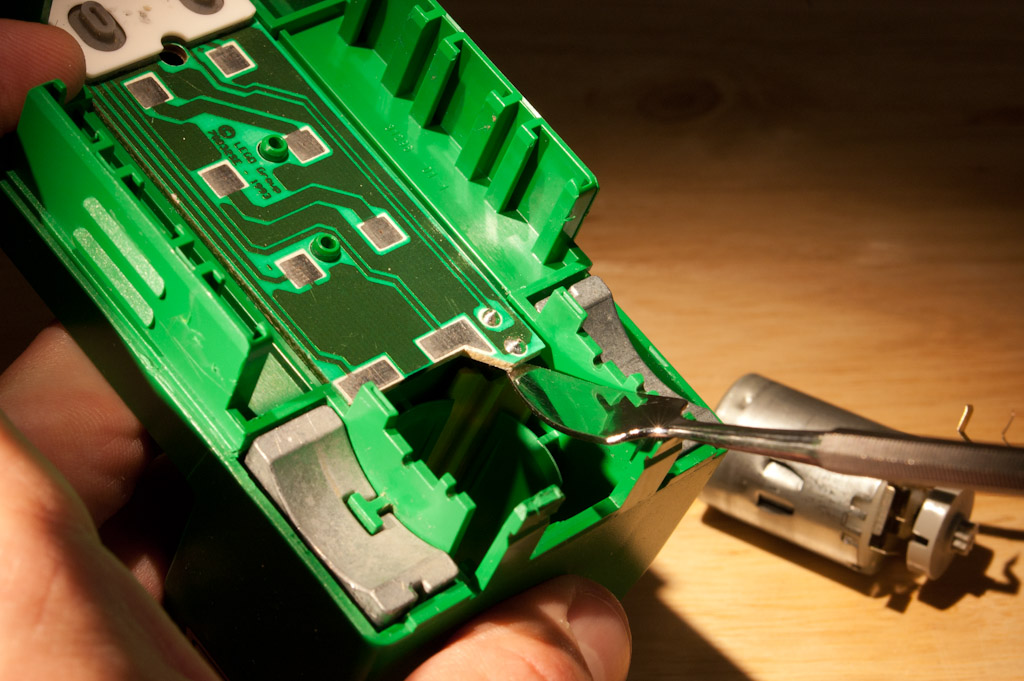
5) Lift off the circuit board
The board is glued to the base with double-sided sticky tape. I used a spudger to lift up on one corner and apply a fair bit of force to release the board from the tape.
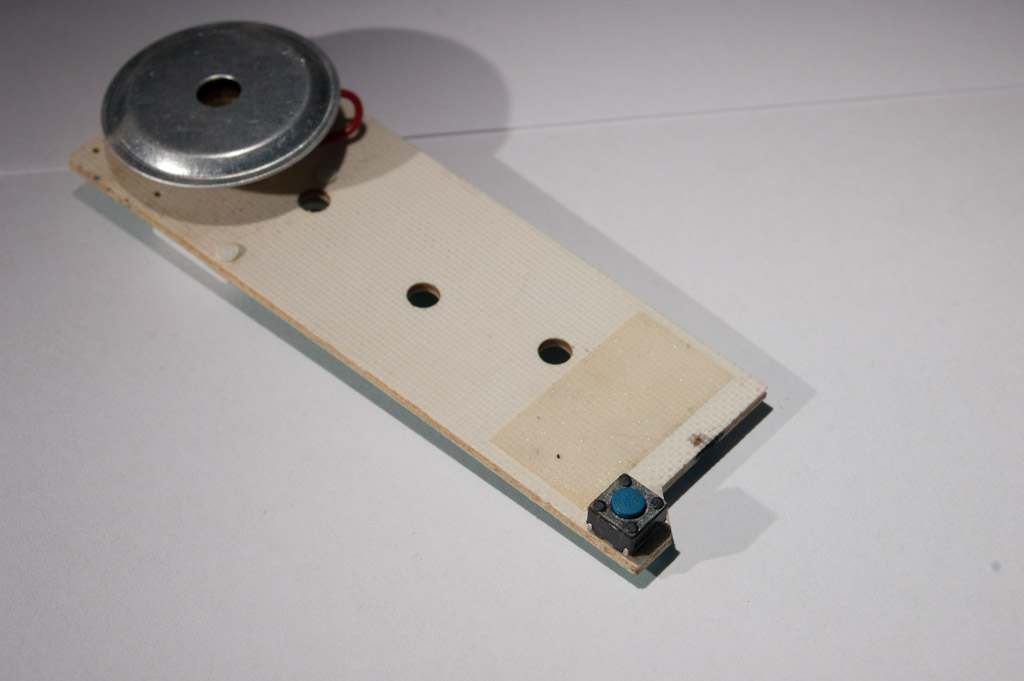
6) Remove the micro switch on the circuit board
I used a desoldering tool and pliers to take off the little switch. This is the one that's supposed to push the yellow plastic button back up again.
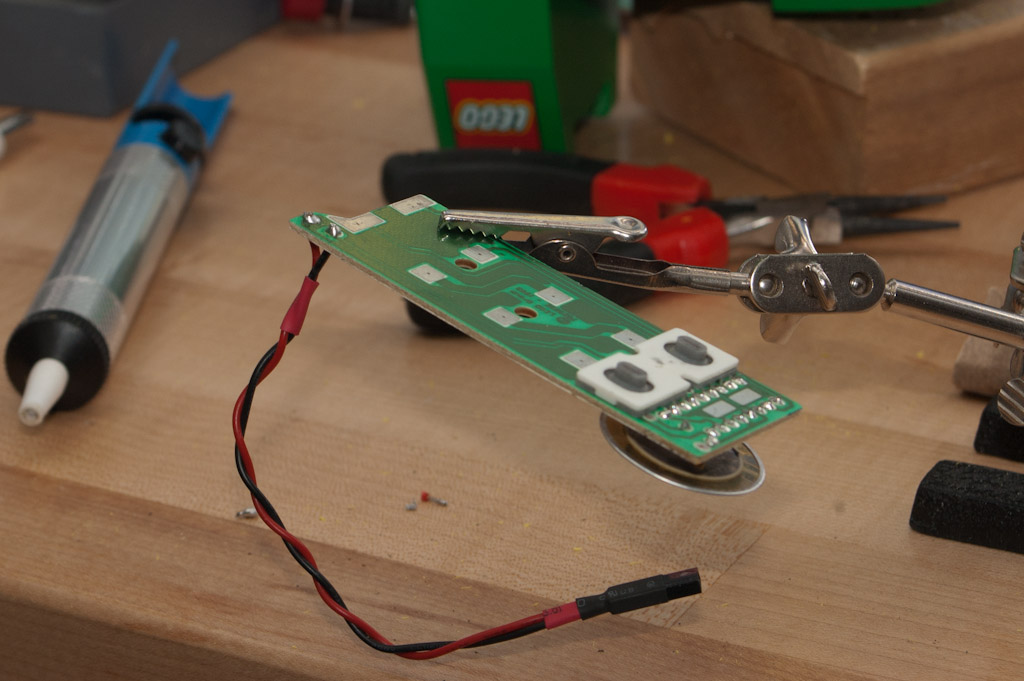
7) Solder wires to connections previously occupied by the switch terminals
(The plastic connector seen on the right end of the wire in the picture will be removed. It was just a spare part of wire I had around...)
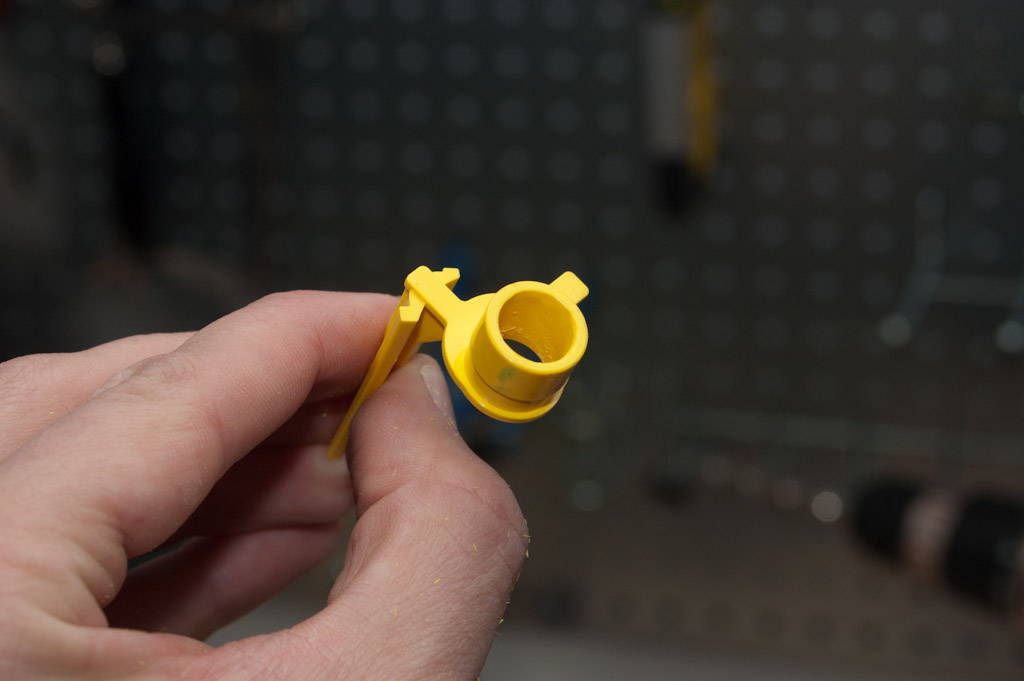
8) Think about how to attach new button to the train
In my case, the push button I used fit perfectly into the old plastic button. All I had to do is hollow out the button with a rotary tool.
9) Thread the wire through the hole made for the new switch and solder on the new switch
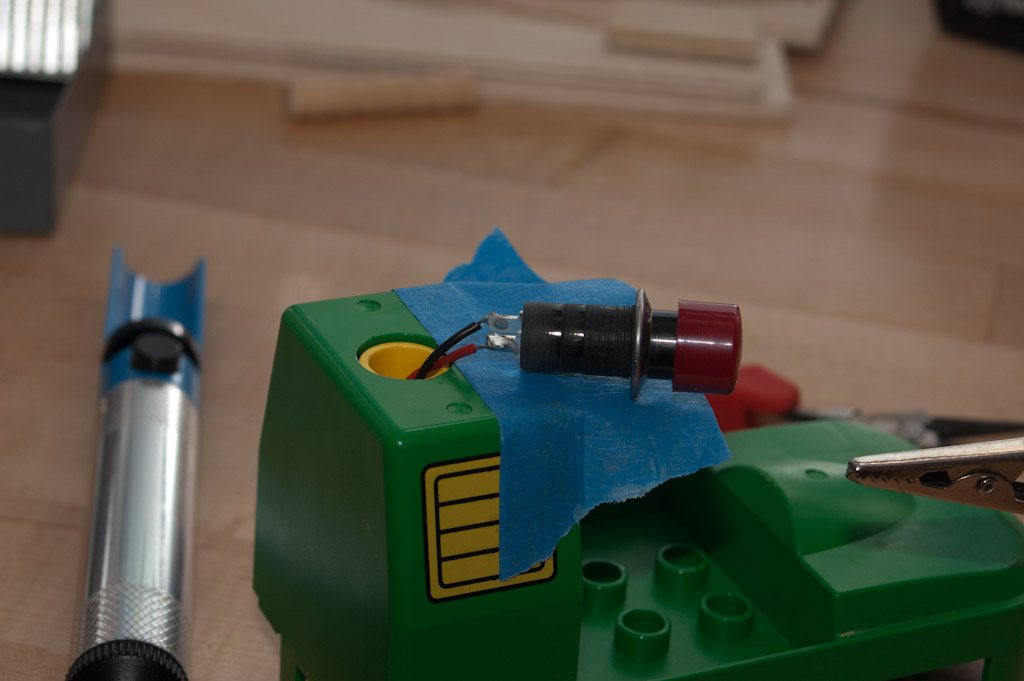
10) Firmly attach the switch
In my case, I made the hole so tight that the switch fits very firmly by friction alone. I could have added some glue, but it seemed unnecessary. It all depends on the switch and the hole. The kids love the new switch because it looks like a smoke stack. And it has been working great for hour upon hour of fun. (We actually put the trains away for now because the constant motor noise was getting annoying.)
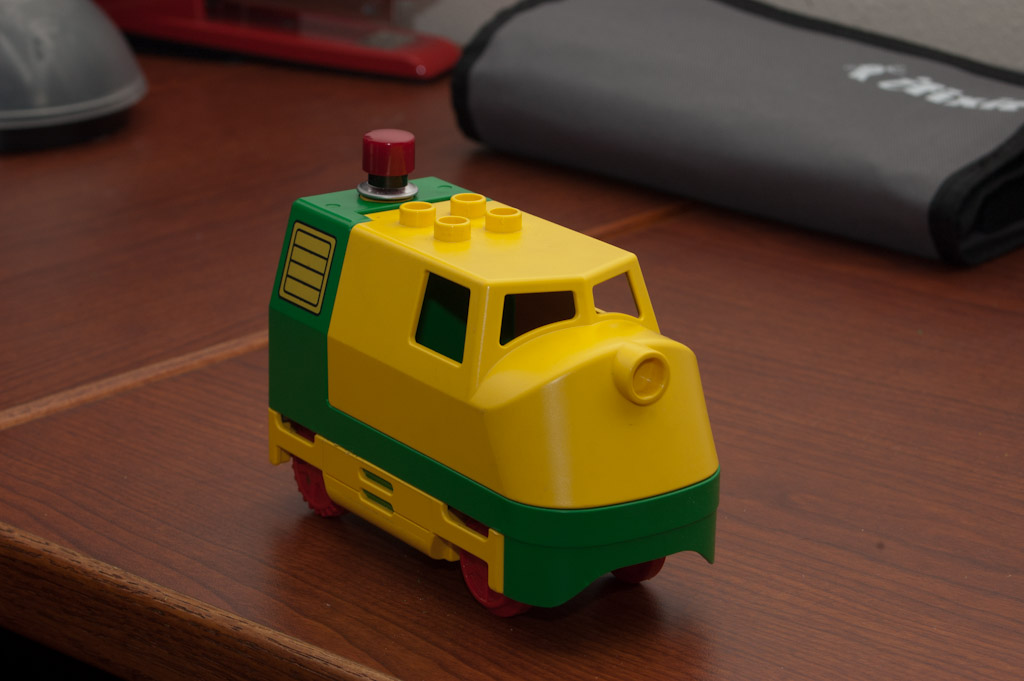
PS: Note the iFixit toolkit in the background of the last picture. I got it on sale a few months ago and it has already paid for itself as I used it to replace my MacBook Pro's keyboard after my kids had spilled milk on it. Here's a link to iFixit: http://www.ifixit.com/Store/Tools/Pro-Tech-Toolkit/IF145-072