Posted by Armin on Monday, January 03, 2011
Using food-grade silicone, I created a few 3D molds of moth pupae, which I then used to make tasty chocolate treats for Halloween. The photos in this post show the steps involved in the process. (Fall 2009)
Manduca sexta pupae made of chocolate (Fall 2009)
Using food-grade silicone, I created a few 3D molds of moth pupae, which I then used to make tasty chocolate treats for Halloween. The photos below show the steps involved in the process.
Steps
- Leave a pupa in the freezer overnight.
- Wash pupa with water, dry it, and cover it with food-grade release agent.
- Create a bedding for the lower half of a pupa. The bedding is made of sulphur-free sculpting clay. (Sulphur-free is important: the silicone won't cure if it comes in contact with sulphur.)
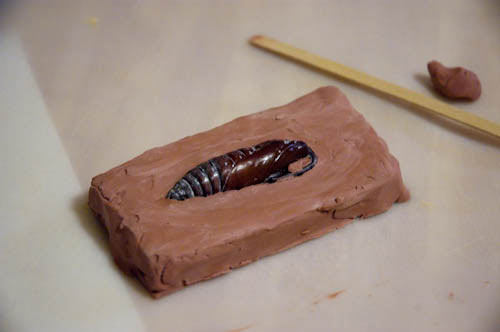
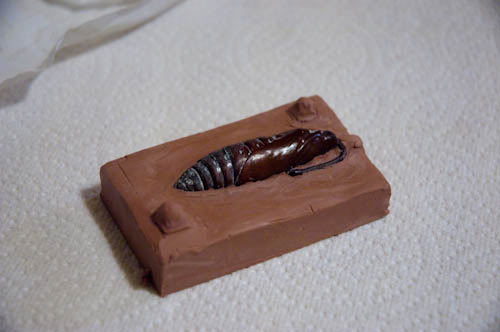
- Smooth out the surface of the bedding. Adding small pegs or grooves will make it easier to align the finished mold. Notice the little piece of clay facing forward towards the right edge of the mold in the second picture. This will form a channel through which excess pressure can be released when the final mold is filled.
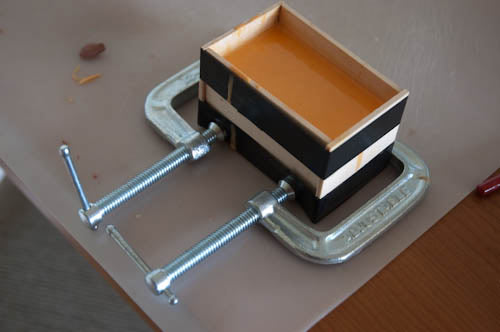
- Build a wooden moat that will hold the silicone.
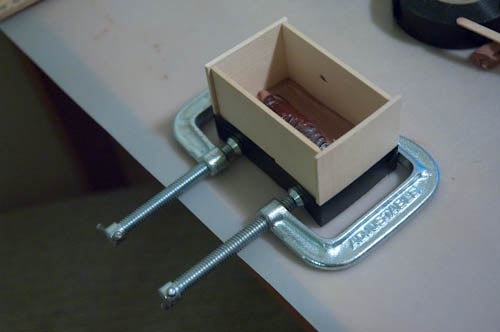
- Before filling the moat about 1/2 way up (to the black mark I made about 3/4in above the top of the pupa), a thin layer of silicone is poured onto the pupa. This prevents air bubbles from being trapped near the pupa's surface
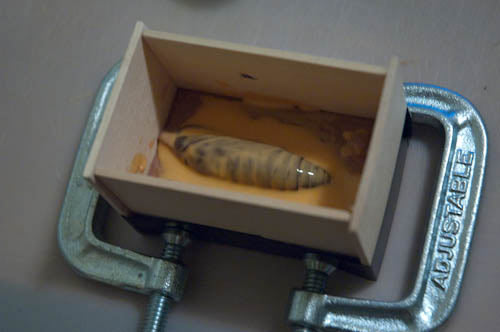
- Finished half-mold, after a cure time of about 24 hours, and after the clay has been removed. A second layer of silicone will be poured onto this half. Basically the previous step needs to be repeated for this. Don't forget to create an air-release channel (in my case: left of this picture, from the head of the pupa out towards the edge. Clay still need to be added here to form a round channel). Also, put some release agent on the silicone, so the two halves can later be separated more easily.
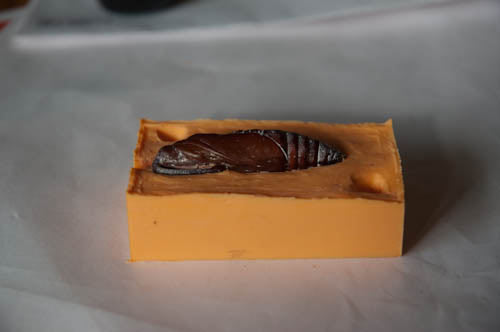
- The second half of the silicone mold has been poured on top of the first one. After a cure time of about 24 hours, the mold can safely be taken apart.
- Be sure to give the mold a good cleaning (in the dishwasher) before using it with chocolate.
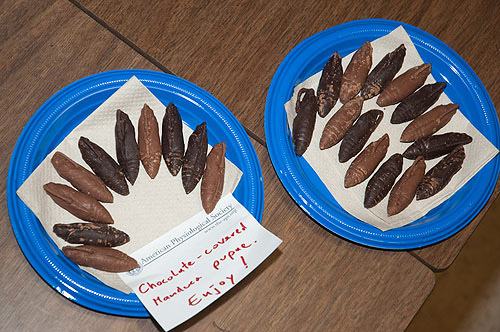
Finished chocolates
(Dark and milk chocolate varieties)
Category:
Making Stuff
Comments
HedwigStrange replied on Permalink
This is just... really
This is just... really excellent. I want to make insect-shaped butter mints, and I was wondering if there might be a tutorial out there by someone who appreciates anatomical correctness in their comestibles (or at least, doesn't think cicadas are a type of beetle, like the rest of the internet).
I looked around the rest of this site and I like what you've posted. I will definitely read your publications - they look fascinating. I I've been working as a biological technician, mostly working with insects in the field, and at some point I'll go to grad school. Coincidentally, in one of my off-season periods of under-employment, I babysat my co-worker's 9 month old twins. So I guess I can relate to your interest in insects as well as the rigors of childcare for twins?
Anyway, thanks for this post. Good luck in all things!
Armin replied on Permalink
Thanks